
Roof Damage Repair
Repair commercial roof flashing in Beaverton, OR with a traced leak path, compatible tie-ins, curb and wall checks and a clear photo record.
Flashing Failure Repair in Beaverton, OR
A damp ceiling beside a wall or curb points us toward a transition, but it does not show where water entered. For flashing failure repair in Beaverton, OR, we start with the room, the roof detail above it and the last known leak point; if water is active, a make-safe visit protects the interior. We photograph the flashing, nearby membrane and termination before removing material, then mark the boundary in the leak log.
Rain on roughly 151 days a year, plus swings like Portland's record 116 degrees in June 2021, make a transition worth a close inspection, and the repair follows the observed roof condition.
Follow the Transition
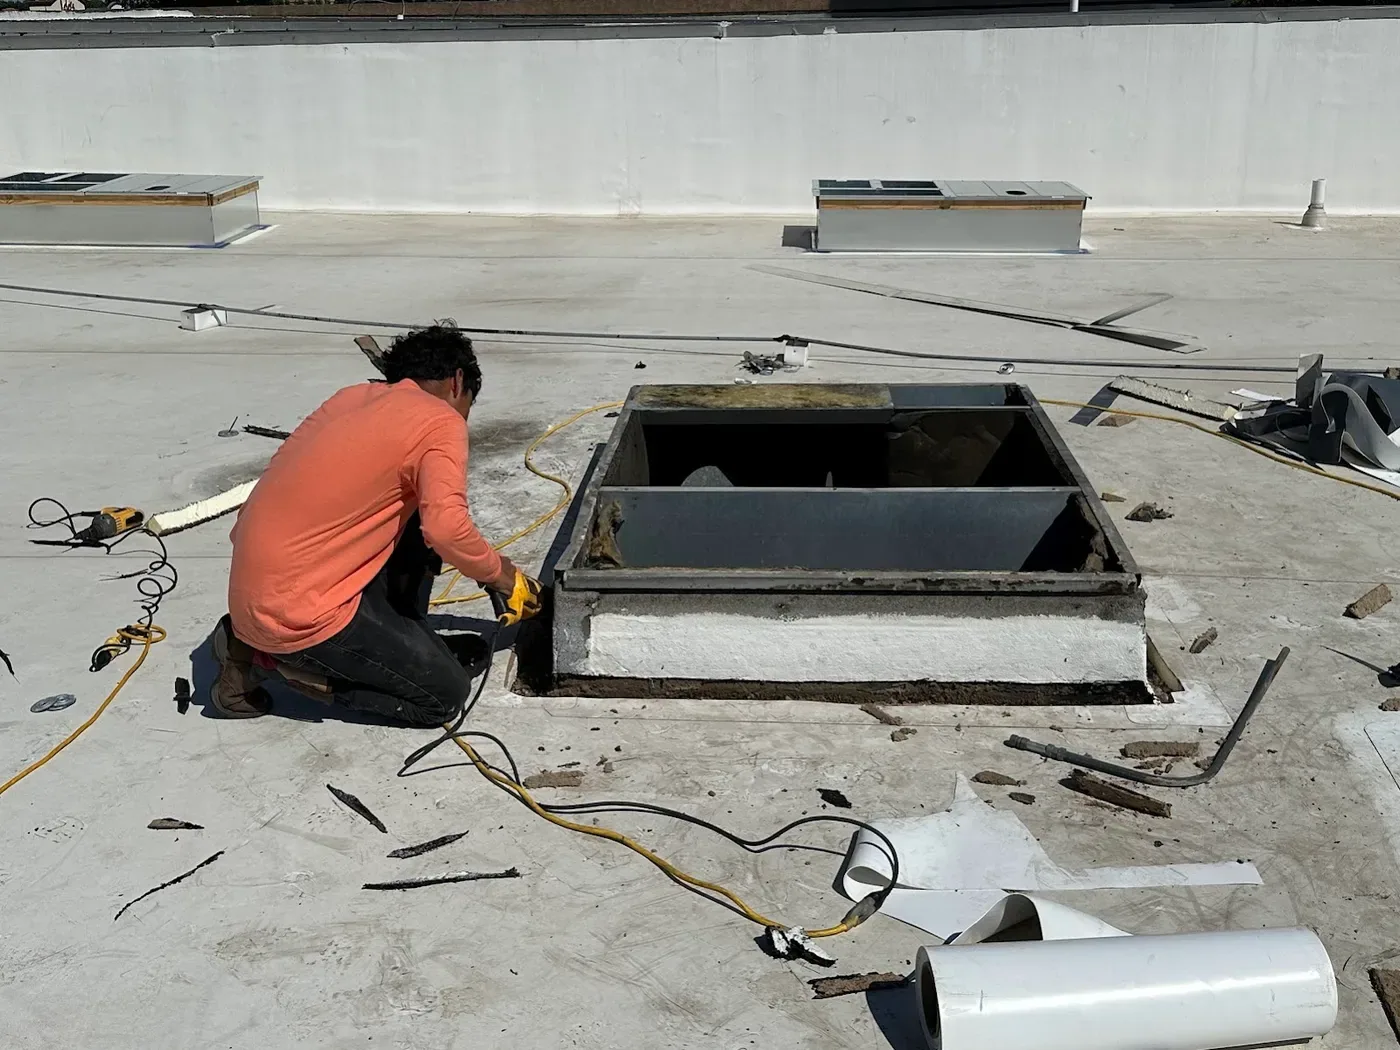
We trace the water report from the interior room to the roof, then inspect the wall base, curb, pipe boot, parapet, skylight or equipment support that meets the field. Loose counterflashing, an open termination, split sealant or a membrane corner can each create a different path. Photos capture the layers and attachment before the detail is disturbed. The marked plan shows whether the condition is isolated or continues along the wall.
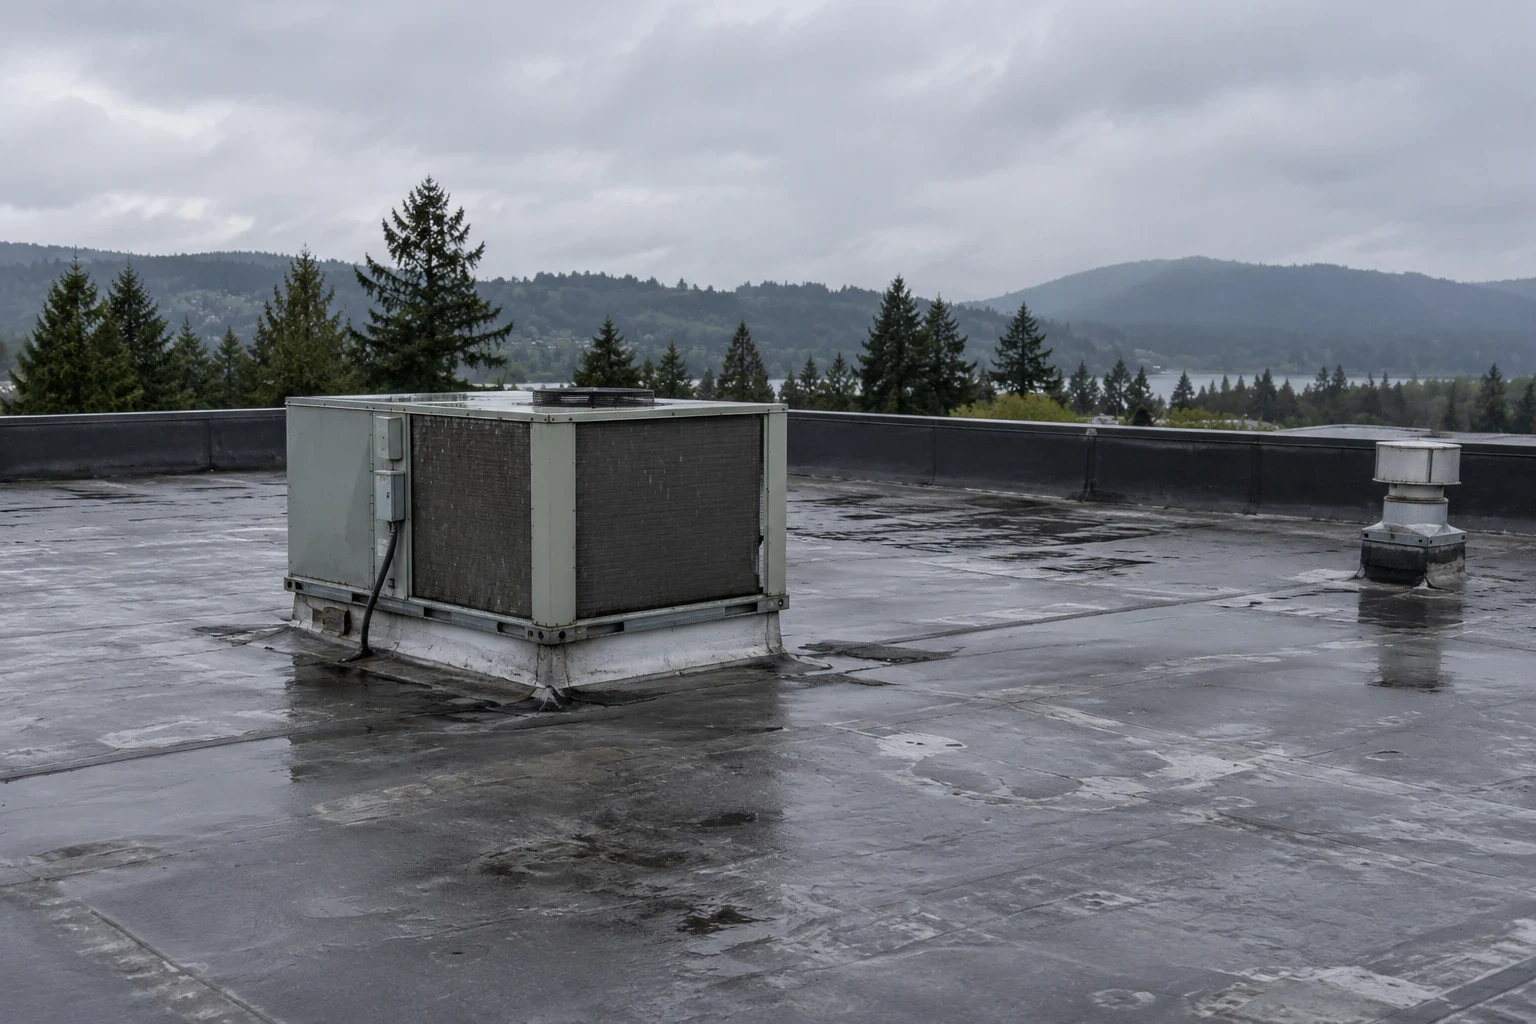
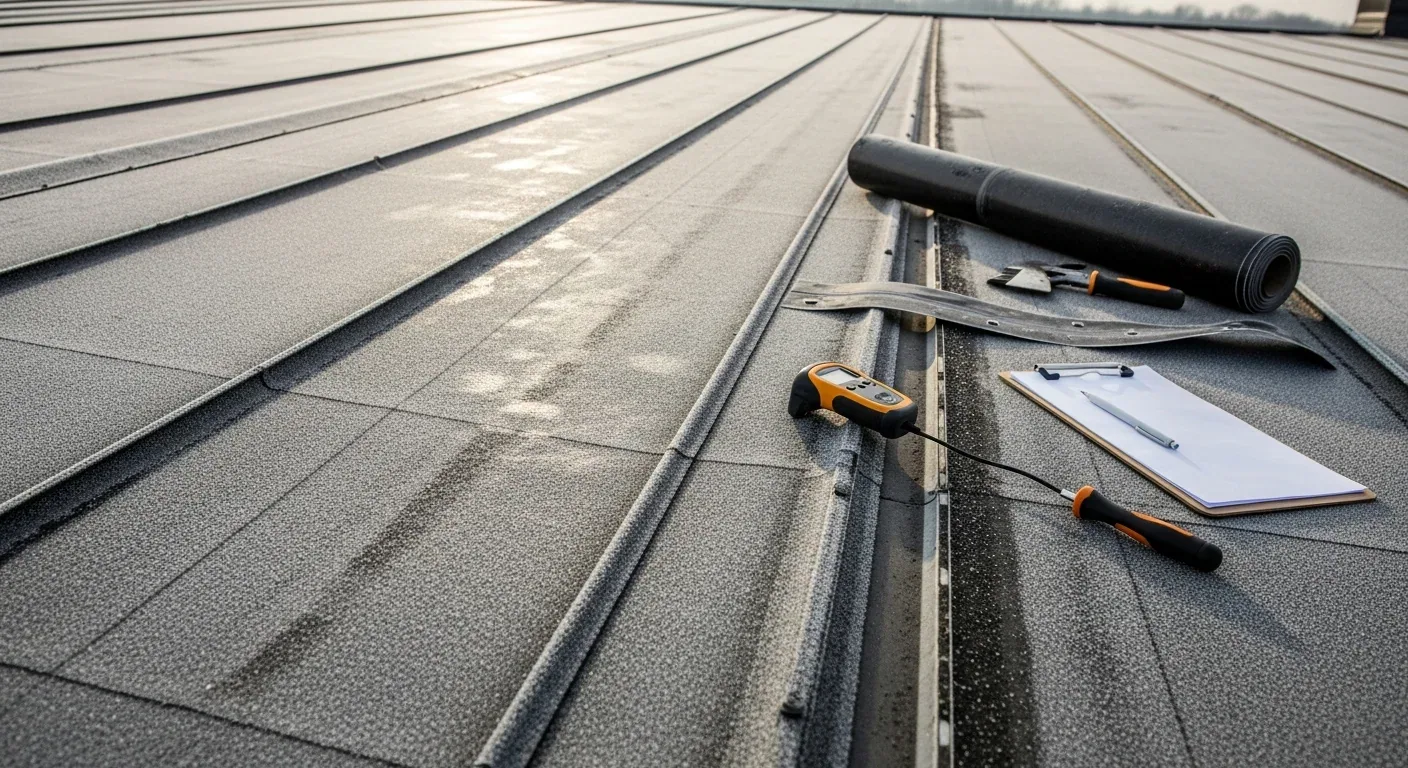
Beaverton's long wet season can test a small opening repeatedly. Our hands-on roof inspection records the transition, drainage and interior report together. If water remains near the detail after an outlet clears, the ponding-water assessment separates drainage from flashing failure. Each observation stays tied to its actual location in the building file.
Find the Open Termination
At a wall or curb, the repair depends on how the flashing turns, attaches and terminates. We look for separation at corners, loose metal, exposed fasteners, split sealant and movement where different materials meet. A roof-level check also follows the membrane beyond the visible gap, because water can move under a lap before reaching the ceiling. We note confirmed damage, moisture testing and any inaccessible area separately.
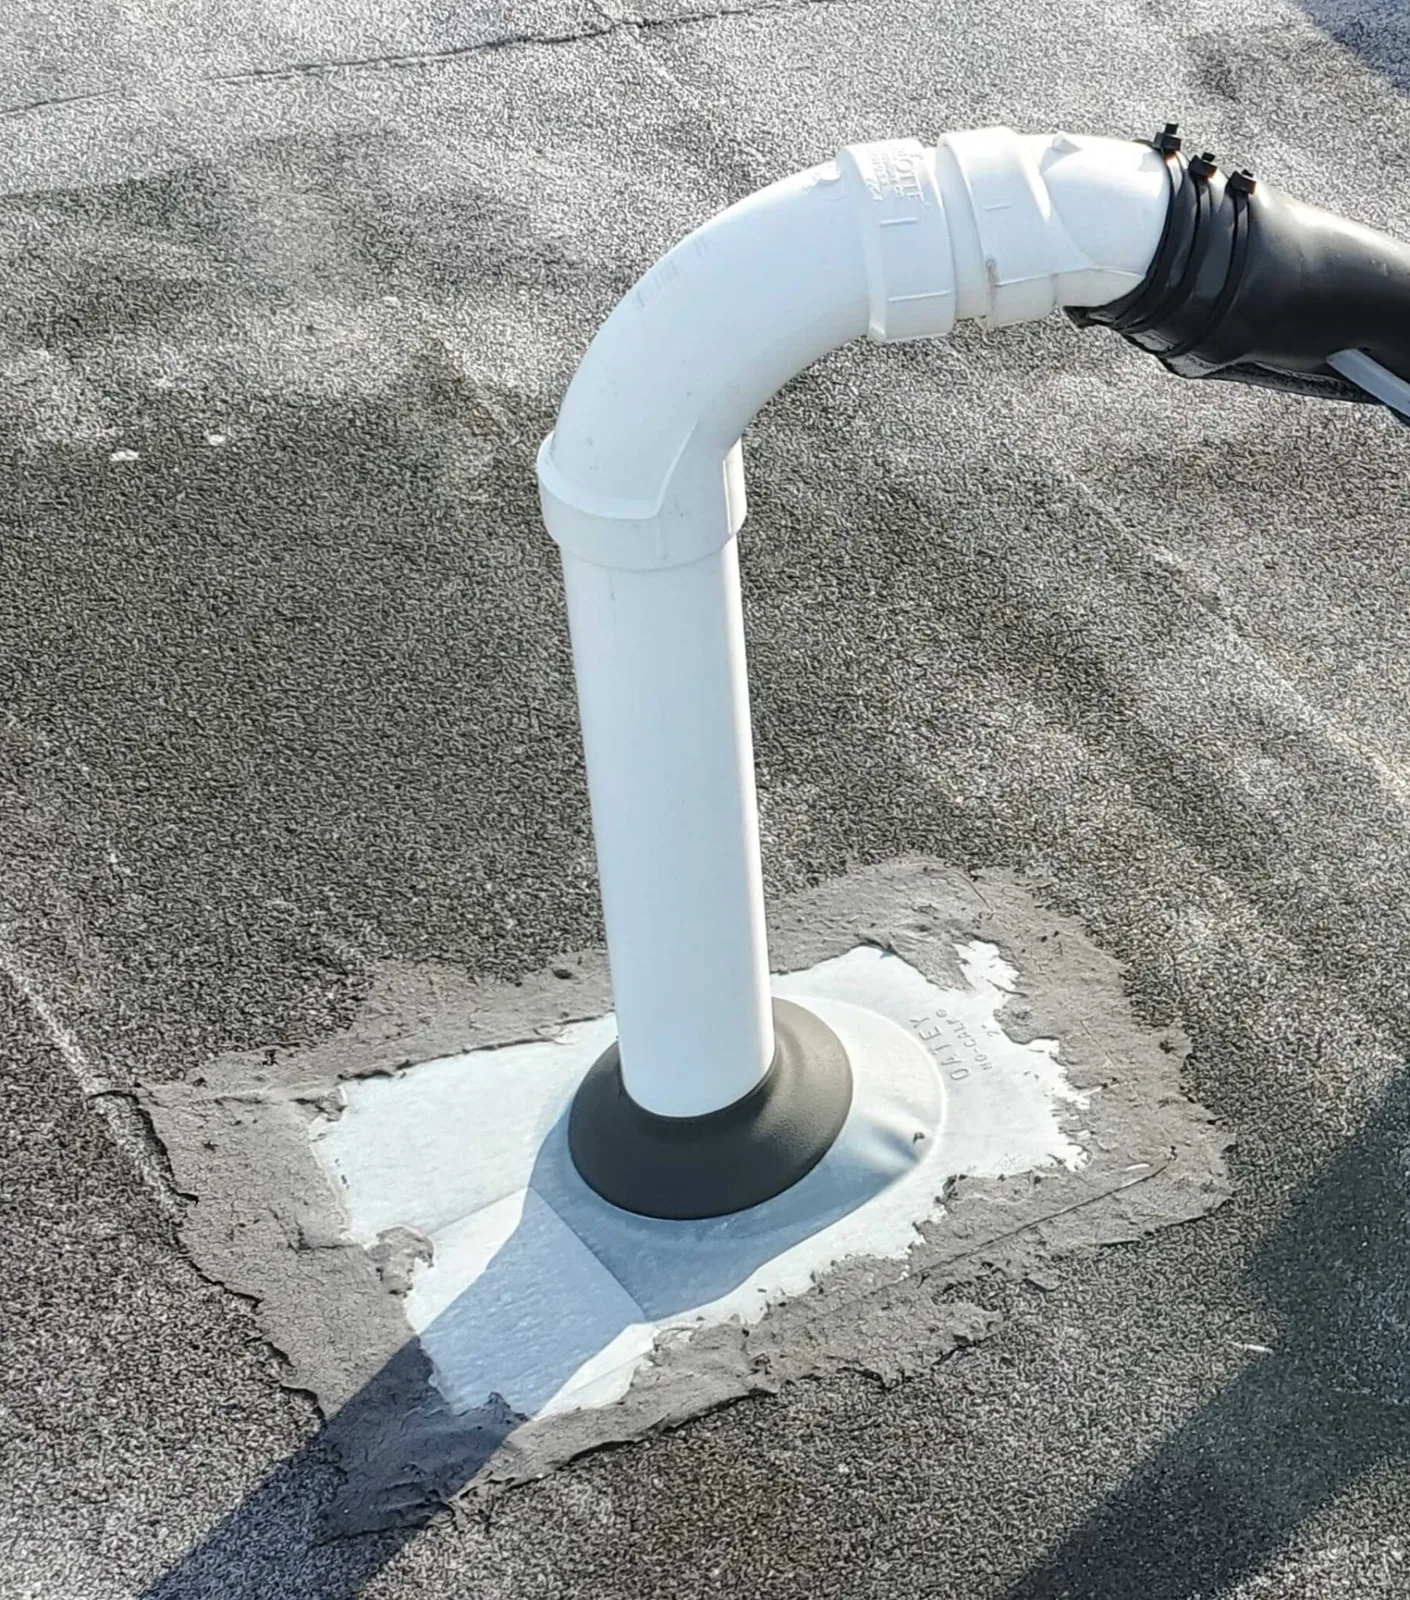
Portland recorded 116 degrees on June 28, 2021, with a record warm overnight low, and heat like that works the sealants and metal at every transition. We inspect the actual material, seam and termination before choosing a repair. A related seam failure review follows an opened field joint, while penetration flashing work addresses the curb or opening geometry.
Rebuild the Detail
A local repair fits if the surrounding membrane and substrate remain sound and the edge can be tied in cleanly. We remove failed flashing and loose material within the scope boundary, dry the substrate, then install compatible flashing and seal the termination with the correct system detail. If insulation is wet beyond the opening or the deck has changed, the scope expands only after that condition is confirmed.
Material choice follows the existing roof assembly. A TPO membrane detail needs a compatible flashing transition; a metal edge or curb uses its own movement and attachment method. We record tie-in length, corner work and any counterflashing replacement so the owner can review what is included. A cosmetic seal over a moving joint does not replace a properly attached flashing assembly.
Separate the Local Repair From the Wider Scope
One failed termination may need a small rebuild; repeated leaks at several curbs, loose parapet metal or widespread wet insulation can change the repair-or-replace threshold. We use the same roof zones to compare localized repair with recovery or replacement. The scope separates flashing, membrane, insulation, deck work, equipment coordination and interior protection, with unknown conditions labeled for testing.
Beaverton rain keeps drainage in the same conversation as flashing. A drain that discharges against a wall or a low area that holds water beside a curb can expose the repaired detail again. We document the outlet and flow path, then identify whether it needs cleaning, correction or design review. A drain and scupper check may be a separate work item. We also compare the repair boundary with the curb fastening, wall substrate and any existing counterflashing. If those parts are sound, the new flashing can terminate into a stable edge; if they are loose or deteriorated, the scope identifies that added work before material is installed. The photo record shows the condition before and after the tie-in, while the closeout note identifies the next point to inspect. If water is active, emergency roof response addresses temporary protection before permanent detailing.
Plan the Return Visit
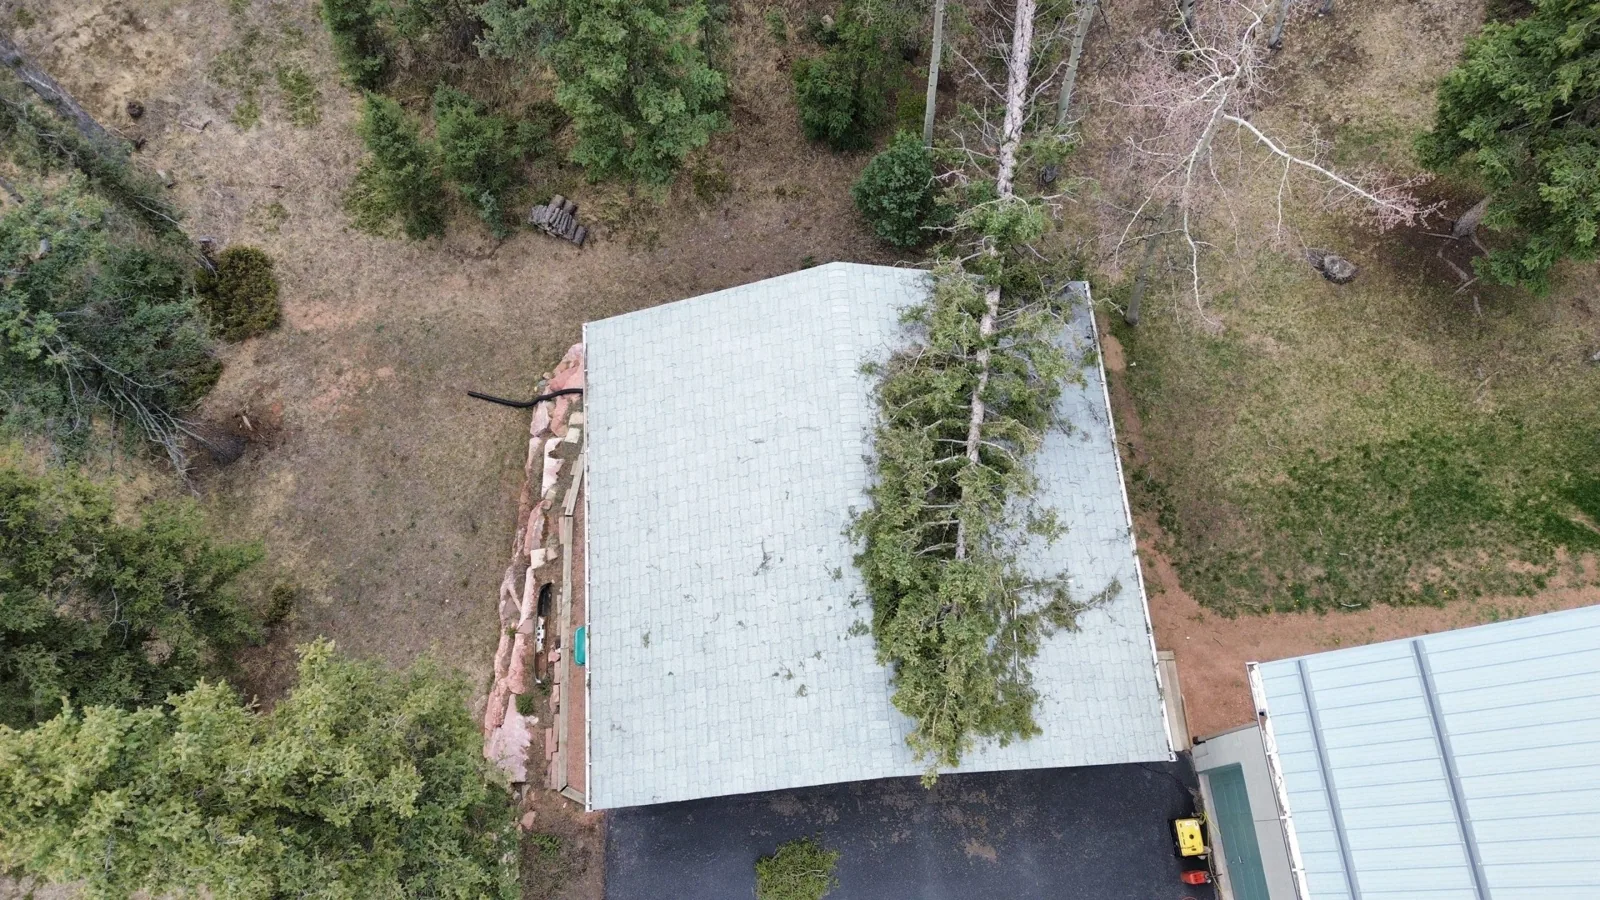
Flashing repair may require roof access, equipment coordination, a dry substrate and time for the selected system to set. We confirm roof-entry rules, tenant notice, lift placement and any equipment shutdown with the building contact. The daily plan identifies the open area and the time it must be closed. If rain interrupts the work, temporary protection and the next dry-window detail are recorded before the crew leaves.
The loading point and roof access determine the arrival sequence. A building with multiple curbs may need a phased list and separate photos for each transition. We keep the schedule beside the marked plan so facilities can coordinate the next visit without confusing one flashing location with another. Wall-to-roof transitions on retail near Washington Square and on industrial buildings in Hillsboro follow the same inspection order, though the wall height and the crowding of equipment differ, so the photo set records the wall base, the counterflashing and the field before any work starts.
Keep the Detail in the Building File
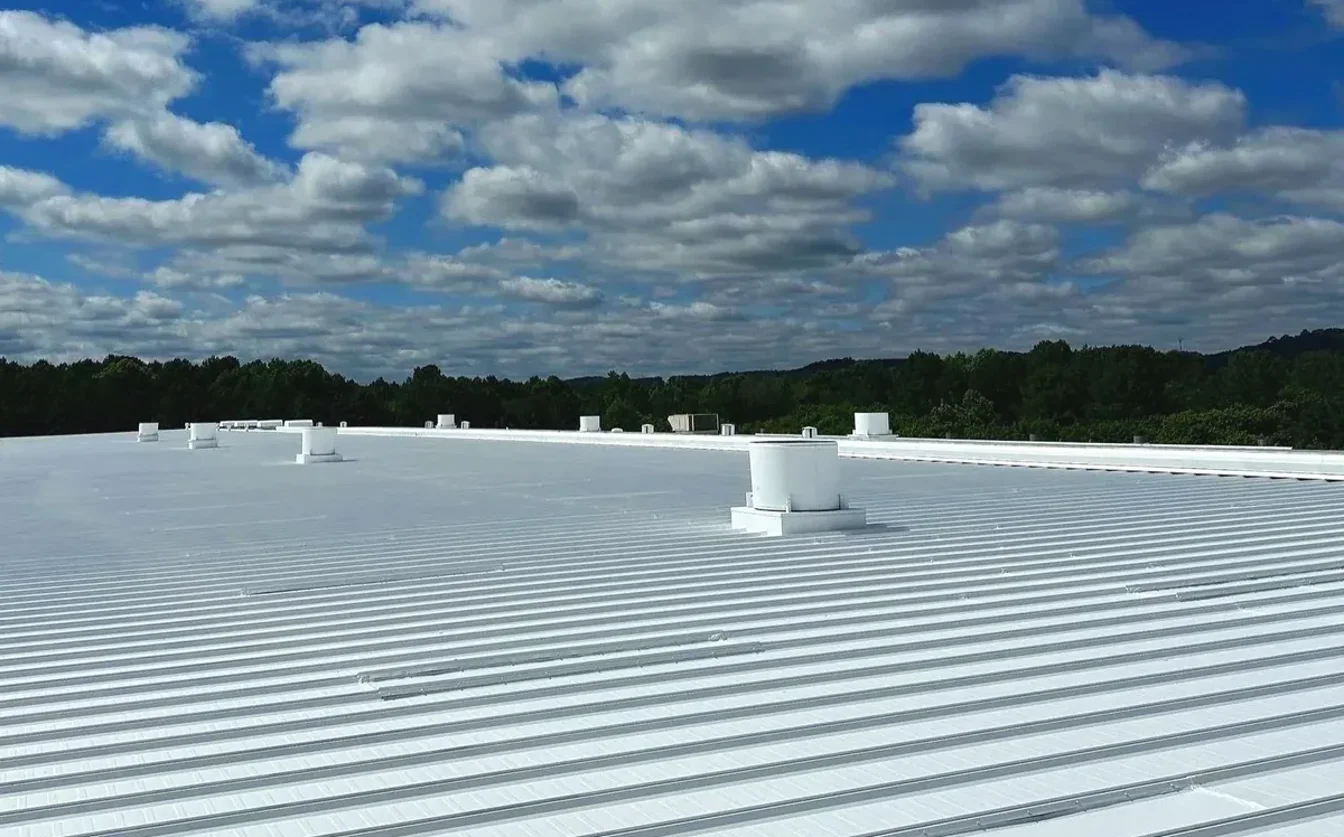
Closeout shows the wall or curb, repair boundary, material tie-in, attachment, nearby drain and any condition left for monitoring. Dated photographs before and after work help the next inspection recognize the same transition. A maintenance visit can return to the detail after seasonal exposure and check that drainage still moves away from the wall.
Place an intake call with the building address, interior location and the last known leak point. If water is active, a make-safe visit comes first; the written scope sheet then lists the flashing repair, test needs and return window. A Beaverton visit begins with the building information and the observed condition, and at any hour, holidays included, temporary protection and permanent repair are recorded as separate steps. The photo set pairs each repaired transition with a wide shot of the wall or roof edge around it.
Related Roofing Work
Commercial Roof Inspection
Ponding Water Roof Repair
Commercial Roof Seam Failure Repair
Skylight and Penetration Flashing
Trace the Flashing Failure
Place an intake call with the building address, affected room and last known leak point. We arrange a make-safe visit when needed, then provide a written scope sheet with the transition, repair limit and next inspection step.
Questions About Flashing Failure Repair
How do you confirm that a curb is the source of a leak?
We compare the interior report with the curb, flashing, membrane seams and drainage above it. The photo set shows what is open or split, while any test needed to confirm concealed moisture is listed separately.
Can a bead of sealant repair separated flashing?
Sealant can be part of a detail, but it does not replace attachment or a compatible tie-in. We inspect how the flashing turns and terminates, then specify the material and rebuild needed for the existing assembly.
What happens if insulation is wet beside the flashing?
At the opening, we mark the affected area and confirm its extent with approved testing before setting the scope. A small repair may allow a local rebuild; moisture that continues beyond it can widen the work or change the replacement recommendation.
Can you repair flashing while the building stays occupied?
For an occupied building, we coordinate roof access, noise, interior protection and equipment restrictions with the facility contact. The phase plan states the work boundary and closeout point so affected rooms and roof areas remain accounted for.
What will the property team receive after the repair?
The building file receives the marked plan, dated photos, material and attachment notes, repair limit, drain observations and any monitoring item. That record helps a later visit distinguish a repeat opening from a separate curb or wall detail.